Markury User Guide
Complete documentation for getting the most out of Markury. Learn how to annotate, present, and communicate visually.
Installation
Getting Markury up and running on your device is quick and easy.
macOS
- Download the Markury.dmg file from the downloads page.
- Double-click the downloaded file to open it.
- Drag the Markury app icon into the Applications folder.
- Launch Markury from your Applications folder.
"App can't be opened" Warning?

If macOS blocks Markury from opening, follow these steps:
- Open System Settings from the Apple menu ().
- Go to Privacy & Security in the sidebar.
- Scroll down to the Security section.
- Click Open Anyway next to the message about Markury being blocked.
- Enter your Mac login password if prompted, then click Open to confirm.
Note: The "Open Anyway" button is only available for about an hour after you first try to open the app. You only need to do this once.
📺 Need a visual walkthrough? Watch our video guide for step-by-step instructions.
Windows
- Download the Markury.exe installer from the downloads page.
- Double-click the installer file to run it.
- Follow the on-screen prompts to complete installation.
- Markury will launch automatically when finished.
License Activation
Unlock the full power of Markury by activating your license key. Each license is valid for use on up to 2 devices (e.g., your laptop and desktop).
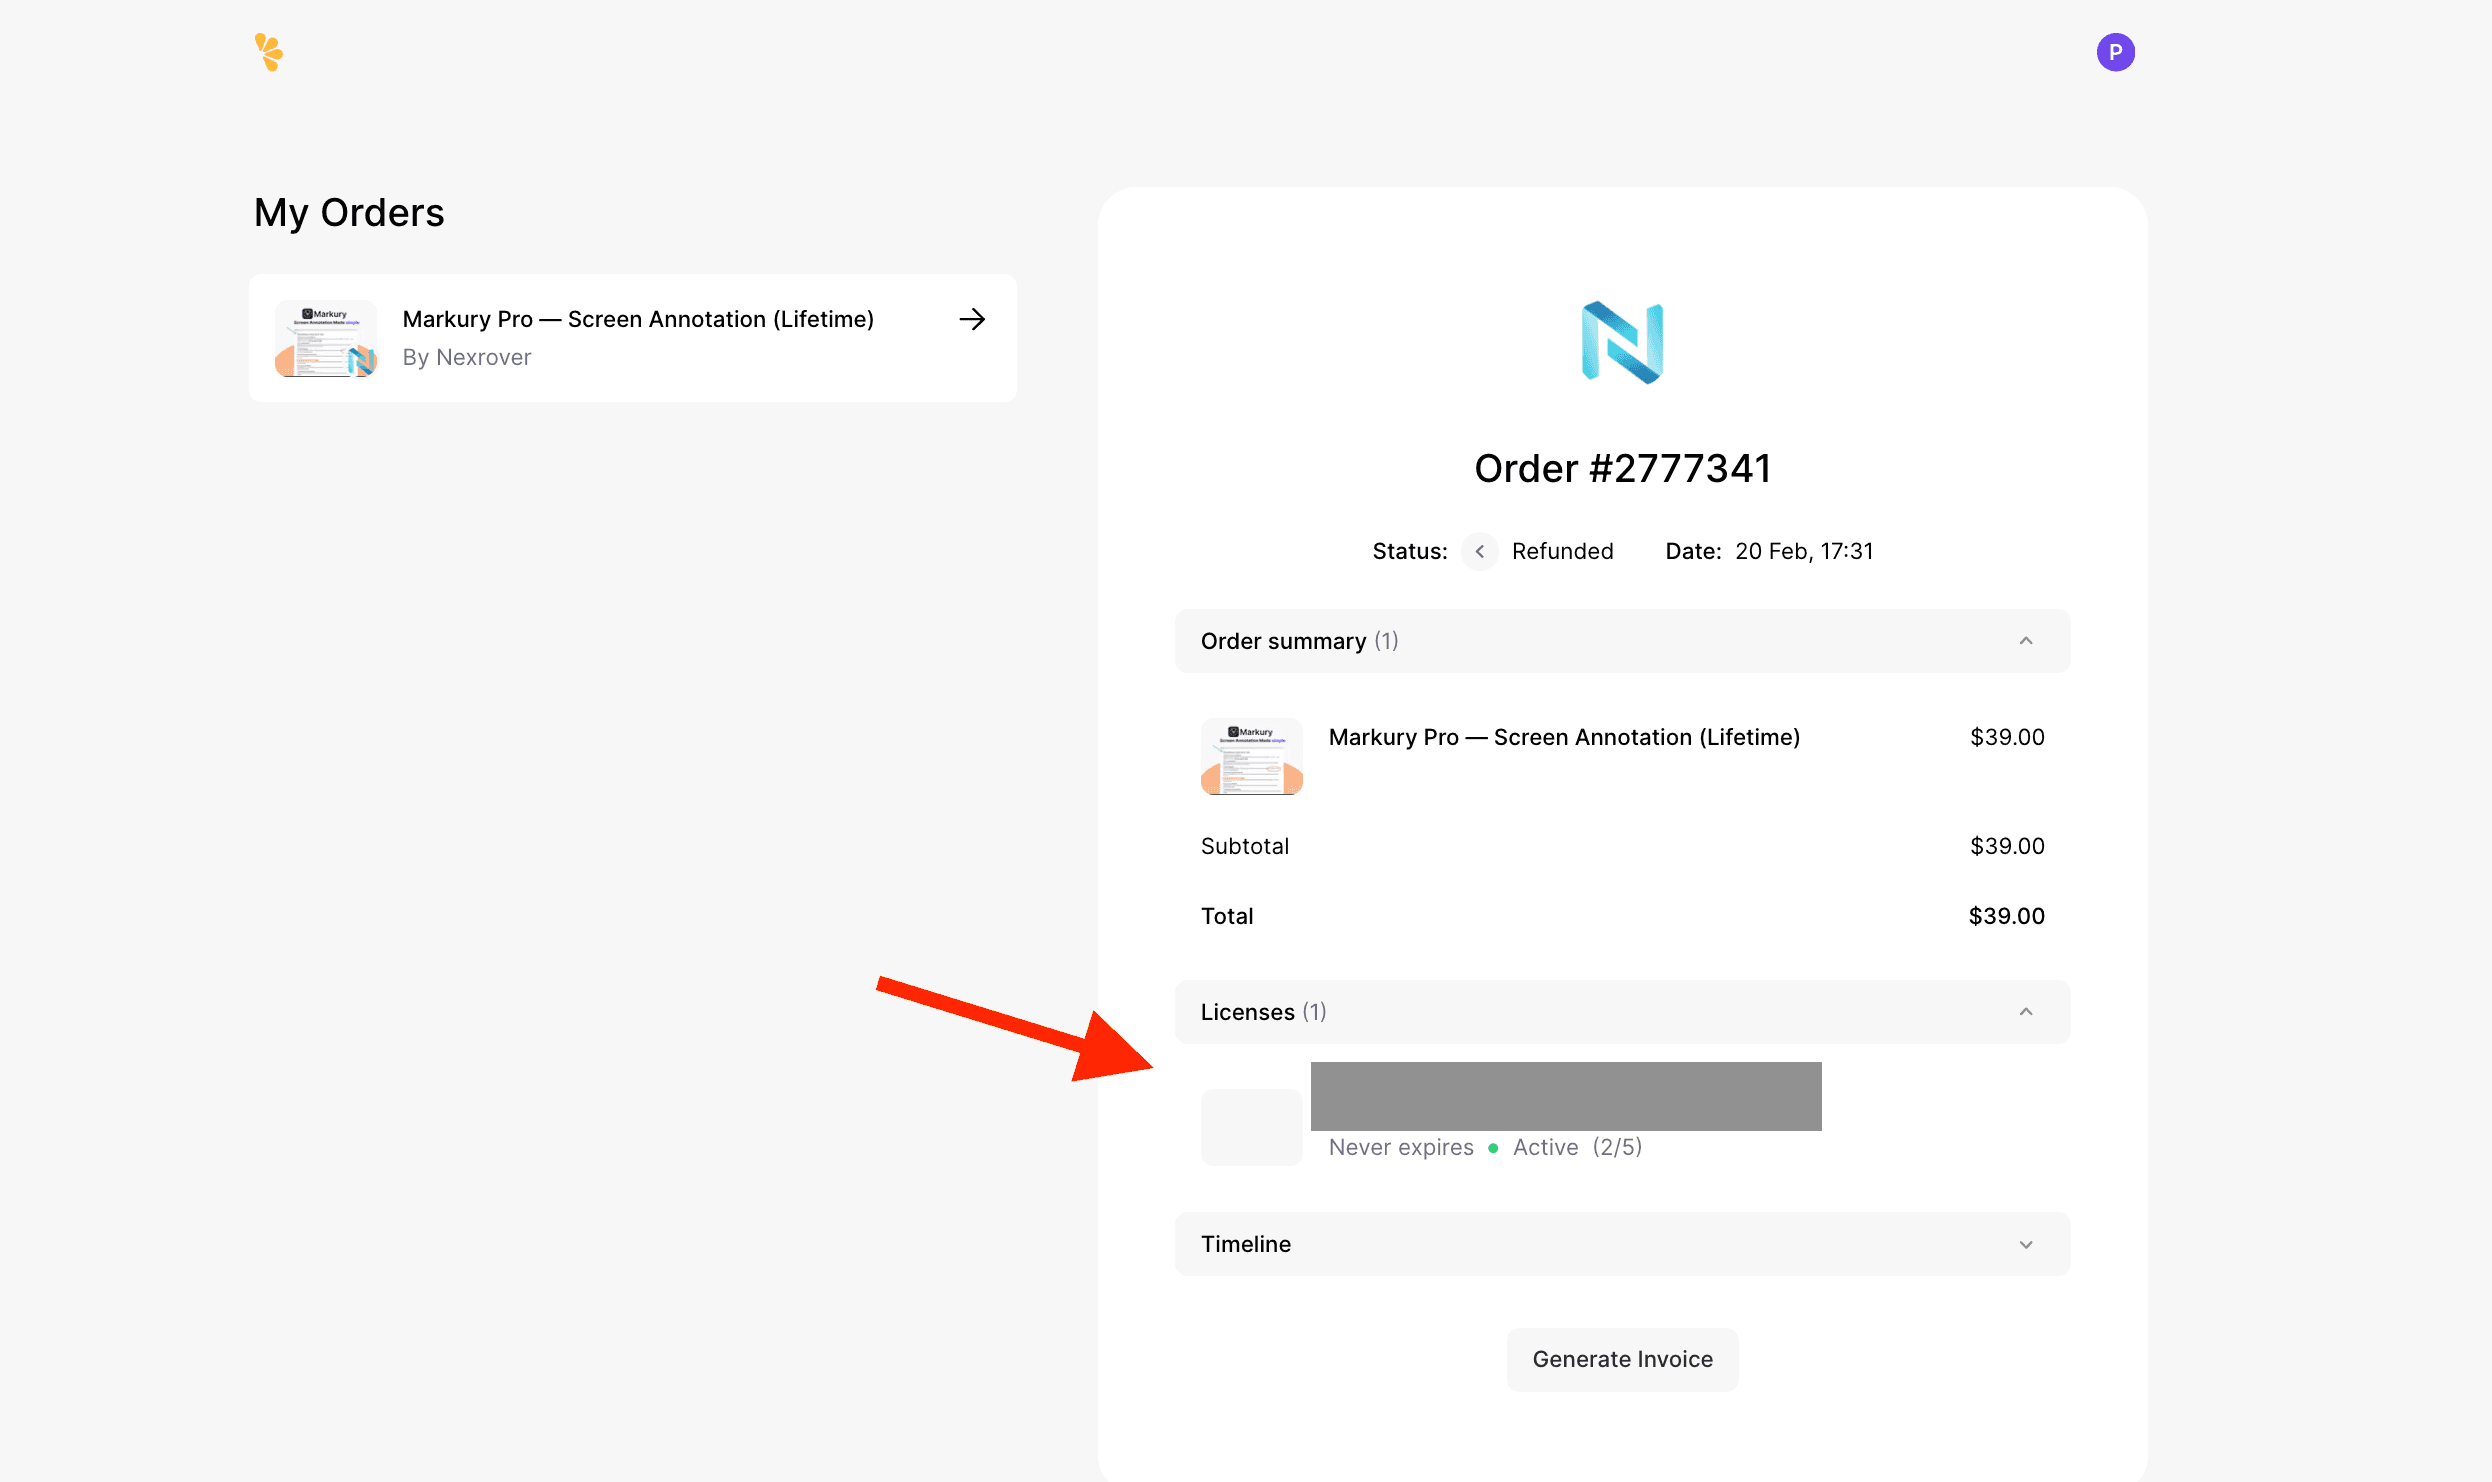
Where to find your license key
Your license key is included in your order confirmation email. You can also find it in your account under the Order summary for your purchase, open the Licenses section on the order detail page to view or copy the key.
Sign in to your account (My Orders) to access your orders and license keys anytime.
How to Activate
- Open Markury and click the Settings (gear) icon in the toolbar.
- Go to the License tab.
- Paste your license key into the input field.
- Click Activate to unlock Pro features instantly.
Managing Activations
If you need to move your license to a new computer or see the "Activation limit reached" message:
- Deactivate existing device: Go to Settings → License and click Deactivate on your old computer.
- Manage online: If you don't have access to the old computer, use the Account link in the License tab (or visit the Lemon Squeezy dashboard) to manage your active devices remotely.
Getting Started
When you launch Markury, a floating toolbar appears on your screen. This toolbar is your control center for all annotation features.
First Steps
- Move the toolbar — Click and drag the app icon (pen icon) to reposition the toolbar anywhere on screen.
- Start drawing — Click the pencil icon to activate freehand drawing, then draw directly on your screen.
- Switch back — Click the cursor icon to return to normal mode where you can click through to other apps.
Quick Tips
- The toolbar stays on top of all other windows
- When you're not drawing, clicks pass through to the apps underneath
- Your toolbar position is remembered between sessions
The Floating Toolbar
The toolbar is your main interface for all Markury features.
Toolbar Basics
| Action | How to Do It |
|---|---|
| Move toolbar | Drag the pen icon at the start of the toolbar |
| Collapse/Expand | Click the pen icon to toggle |
| Find toolbar | Use the system tray menu if you lose it |
Toolbar Orientation
Switch between vertical and horizontal layouts to fit your workflow:
- Vertical — Takes up less horizontal space, great for side placement
- Horizontal — Compact height, ideal for top or bottom of screen
Drawing Mode Indicator
When drawing mode is active, the toolbar shows a cyan border glow so you always know when your clicks will draw instead of passing through.
Drawing Tools
Cursor Tool
Return to normal mode
- Clicks pass through to underlying apps
- Use this when you're done annotating
- Drawings remain visible but you can interact with other windows
Freehand Drawing
Draw freely with your mouse or stylus
- Click and drag to draw smooth strokes
- Strokes are automatically smoothed for a natural look
- Great for circling items, underlining text, or free-form sketching
Highlighter
Emphasize content with semi-transparent highlights
- Works like a real highlighter marker
- Semi-transparent so text underneath remains readable
- Automatically uses a wider stroke for easy highlighting
- Perfect for marking important text or areas
Eraser
Remove unwanted strokes
- Click and drag over any drawing to erase it
- Erases any stroke it touches
- Also removes text annotations
- Use to clean up mistakes or clear specific areas
Colors & Stroke Width
Choosing Colors
Color Palette — Click the color dots in the toolbar to open the color picker. Choose from a 32-color palette or use the dynamic color picker for perfect contrast.
Quick Colors — Four customizable color slots for your most-used colors. Access them instantly from the toolbar or with keyboard shortcuts (⌘1, ⌘2, ⌘3, ⌘4).
Default Color — Set your preferred starting color in Settings. Markury will use this color when you launch the app.
Stroke Width
Adjust how thick your lines are:
- Thin strokes — Great for detailed annotations and writing
- Medium strokes — Good all-purpose thickness
- Thick strokes — Bold, highly visible marks
Click the stroke width button (shows "3 px" or similar) to see available options:
- 1 px — Fine detail
- 3 px — Standard drawing
- 5 px — Medium emphasis
- 10 px — Bold marks
You can also use keyboard shortcuts to quickly adjust thickness.
Shape Tools
Create precise geometric shapes for professional-looking annotations.
Line Tool
Draw perfectly straight lines
- Click where you want the line to start
- Drag to where you want it to end
- Release to place the line
Great for: Connecting items, pointing to specific areas, creating dividers
Rectangle Tool
Draw rectangular boxes
- Click to set one corner
- Drag to the opposite corner
- Release to complete the rectangle
Great for: Highlighting areas, creating boxes around content, framing elements
Circle Tool
Draw perfect circles and ovals
- Click to set the starting point
- Drag to define the size
- Release to complete the shape
Great for: Circling important items, creating bullet points, emphasizing specific spots
Arrow Tool
Draw arrows that point to things
- Click where you want the arrow to start
- Drag toward what you want to point at
- Release to place the arrow with its arrowhead
Great for: Directing attention, showing flow, indicating specific elements
Text Annotations
Add typed text anywhere on your screen.
How to Add Text
- Select the Text tool from the toolbar
- Click anywhere on screen where you want to add text
- A text input box appears — type your message
- Press Enter to confirm, or Escape to cancel
- The text appears at your chosen location
Text Features
- Text uses your current selected color
- Text size is based on your stroke width setting
- Text can be erased just like drawn strokes
- Position text precisely by clicking exactly where you want it
Great for: Labels, explanations, callouts, step numbers, notes
Laser Pointer
A virtual laser pointer for presentations — perfect for drawing attention without leaving permanent marks.
How It Works
- Select the Laser Pointer tool
- Move your mouse to point at things
- A bright trail follows your cursor
- The trail fades away automatically after about 1.5 seconds
When to Use It
- Live presentations — Point at items while talking
- Screen recordings — Guide viewers' attention
- Teaching — Highlight what you're explaining without cluttering the screen
- Demonstrations — Show where to click or look
The laser pointer leaves no permanent marks, so your screen stays clean.
Whiteboard Mode
Transform your entire screen into a drawing canvas with a solid background.
Activating Whiteboard Mode
- Click the Whiteboard button in the toolbar (presentation icon)
- Your screen fills with a solid color background
- Draw freely on the clean canvas
- Click the button again to return to normal overlay mode
Whiteboard Colors
Choose from 4 carefully selected background colors:
- White — Classic, bright canvas
- Black — High contrast for vibrant colors
- Grid (Light) — Perfect for structured drawing and math
- Grid (Dark) — Structured drawing with a sleek dark theme
When to Use Whiteboard Mode
- Brainstorming — Sketch ideas on a clean canvas
- Teaching — Explain concepts without distracting backgrounds
- Presentations — Create a focused drawing space
- Quick diagrams — Map out ideas visually
Screenshots
Capture your screen with or without your annotations.
Full Screen Screenshot
Capture everything visible on your screen:
- Click the Screenshot button in the toolbar (camera icon)
- The entire screen is captured instantly
- Depending on your settings, the image is either:
- Copied to clipboard — Paste anywhere with ⌘V
- Saved to a folder — Find it in your designated location
Region Screenshot
Capture just a specific area:
- Click the Region Screenshot option
- Click and drag to select the area you want to capture
- Release to capture that region
- The selected area is saved or copied based on your settings
Screenshot Settings
Configure how screenshots are handled:
- Clipboard mode — Screenshots are copied to your clipboard for quick pasting
- Folder mode — Screenshots are saved as files to a location you choose
- Default location — ~/Downloads folder
Screenshots are automatically named with the date and time for easy organization.
Undo, Redo & Clear
Undo
Take back your last action
- Click the Undo button (curved arrow pointing left)
- Or use the keyboard shortcut
- Reverses your most recent stroke, shape, or text
- Keep clicking to undo multiple actions
Redo
Bring back something you undid
- Click the Redo button (curved arrow pointing right)
- Or use the keyboard shortcut
- Restores actions you've undone
- Only available after using Undo
Clear All
Remove all drawings at once
- Click the Clear button (trash icon)
- All strokes, shapes, and text are removed
- Use when you want a fresh start
- This action can be undone
Keyboard Shortcuts
Work faster with customizable keyboard shortcuts.
Default Shortcuts
Markury comes with sensible default shortcuts, and you can customize all of them in Settings.
- Toggle drawing mode
- Switch between tools
- Undo / Redo
- Take screenshots
- Adjust stroke width
- Switch to quick colors (⌘1 through ⌘4)
Customizing Shortcuts
- Open Settings from the toolbar
- Go to the Shortcuts tab
- Click on any shortcut to record a new key combination
- Press your desired keys (e.g., ⌘+Shift+D)
- The new shortcut is saved automatically
Shortcut Tips
- Shortcuts work globally — they work even when Markury isn't focused
- Tooltips show shortcuts — hover over toolbar buttons to see their shortcuts
- Avoid conflicts — Markury will warn you if a shortcut is already in use
Settings & Customization
Access Settings by clicking the gear icon in the toolbar.
General Settings
Theme
- Light — Bright toolbar appearance
- Dark — Dark toolbar appearance
- Auto — Matches your system setting
Toolbar Orientation
- Vertical — Toolbar arranged top-to-bottom
- Horizontal — Toolbar arranged left-to-right
Screenshot Storage
- Clipboard — Copy screenshots for pasting
- Folder — Save screenshots to a specific location
- Browse — Choose your save folder
Tools Settings
Customize which tools appear in your toolbar:
- Toggle individual tools on/off
- Hide tools you don't use to simplify your toolbar
- Changes take effect immediately
Colors Settings
Default Color
Set the color Markury uses when you first launch. Click to expand color picker, choose your color.
Quick Palette
Customize your 4 quick-access colors. Click a slot, then choose a color from the picker. Access with ⌘1, ⌘2, ⌘3, ⌘4.
Shortcuts Settings
- View all available shortcuts
- Click any shortcut to record a new key combination
- Clear shortcuts you don't want
System Tray
Markury adds an icon to your system tray (menu bar on Mac) for quick access.
Tray Menu Options
Right-click (or click) the tray icon to see:
- Expand/Collapse Toolbar — Show or hide the toolbar
- Horizontal/Vertical — Switch toolbar orientation
- Find Toolbar — Locate toolbar with a pulsing glow effect
- Quit — Close Markury
Finding a Lost Toolbar
If you can't see your toolbar:
- Click the Markury icon in the system tray
- Select Find Toolbar
- The toolbar will pulse with a bright glow so you can spot it
- Drag it to a more convenient location
Use Cases
For Teachers & Educators
- Annotate slides during live lessons
- Highlight key concepts in documents
- Use whiteboard mode for explanations
- Record annotated tutorials
For Presenters
- Draw attention to specific points
- Use laser pointer for live demos
- Annotate any application in real-time
- Keep presentations engaging
For Content Creators
- Create annotated screenshots
- Record tutorials with on-screen drawings
- Highlight steps in how-to videos
- Add visual emphasis to recordings
For Remote Collaboration
- Annotate shared screens
- Point out details during video calls
- Sketch ideas over documents
- Provide visual feedback
For Developers & Designers
- Mark up designs and mockups
- Annotate bug reports with screenshots
- Sketch UI ideas quickly
- Highlight code during reviews
Tips & Best Practices
Keep Your Toolbar Accessible
Position your toolbar where it won't block important content but is always within reach.
Use Keyboard Shortcuts
Learn the shortcuts for your most-used tools to speed up your workflow.
Customize Your Quick Colors
Set up your four quick colors for the tasks you do most often.
Use the Right Tool for the Job
- Freehand for informal marks and circling
- Shapes for clean, professional annotations
- Highlighter for text emphasis
- Laser pointer for presentations
Clear Regularly
Don't let annotations pile up — clear when you're done with a topic.
Save Screenshots Strategically
Use clipboard mode for quick sharing, folder mode for documentation.
Troubleshooting
Toolbar Disappeared
Use the system tray menu → "Find Toolbar" to locate it with a visual pulse.
Can't Draw on Screen
Make sure you've selected a drawing tool (not the cursor). Check that drawing mode is active (cyan border on toolbar).
Screenshots Not Working
Markury needs Screen Recording permission. Go to System Preferences → Privacy & Security → Screen Recording and ensure Markury is enabled.
Shortcuts Not Working
Markury needs Accessibility permission for global shortcuts. Go to System Preferences → Privacy & Security → Accessibility and ensure Markury is enabled.
Drawings Not Visible
Click the visibility toggle to ensure drawings are shown, not hidden.
Multi-Monitor Issue on macOS
Why This Happens
macOS enables a setting called "Displays have separate Spaces" by default. This prevents a single app window from spanning across multiple monitors. Since Markury uses one transparent overlay window to allow seamless drawing across all displays, macOS clips the overlay to the primary monitor only. As a result, parts of the toolbar or drawing area may disappear when moving across screens.
Solution
- Open System Settings → Desktop & Dock
- Scroll to the Mission Control section
- Turn OFF "Displays have separate Spaces"
- Log out and log back in (or restart your Mac)
After restarting, Markury will work seamlessly across all connected displays.
Summary
Markury puts powerful screen annotation tools at your fingertips:
| Feature | What It Does |
|---|---|
| Freehand | Draw freely on screen |
| Highlighter | Emphasize with transparent marks |
| Shapes | Add lines, rectangles, circles, arrows |
| Text | Type annotations anywhere |
| Laser Pointer | Point without permanent marks |
| Whiteboard | Clean canvas for focused drawing |
| Screenshots | Capture your annotated screen |
| Shortcuts | Work faster with keyboard commands |
| Customization | Tailor the toolbar to your needs |
Whether you're teaching, presenting, or creating content — Markury helps you communicate visually with ease.